![]()
![]()
![]()
In this time-out, you get to throw caution to the wind as you hunt for dangerous mines. Minesweeper is a Windows 95 game that's been available in Windows environments for several years. Unlike the Solitaire program that you played in the previous time-out, Minesweeper requires more luck than skill. Minesweeper is also easier to learn than Solitaire, so you'll be detonating mines in no time.
The goal of Minesweeper is simple: You set out through a minefield trying to locate the mines before getting blown up. As you'll soon see, the colorful graphics and low-resolution mines make the game much less intense and violent than the description first leads you to believe.
TIME SAVER: Minesweeper is a fast-paced game. Therefore, if you want something to do while waiting during TV commercials or while sitting in those meetings when you must act as if you're paying attention and stay awake at the same time, you can play some quick rounds of Minesweeper to clear the cobwebs and pass the time.
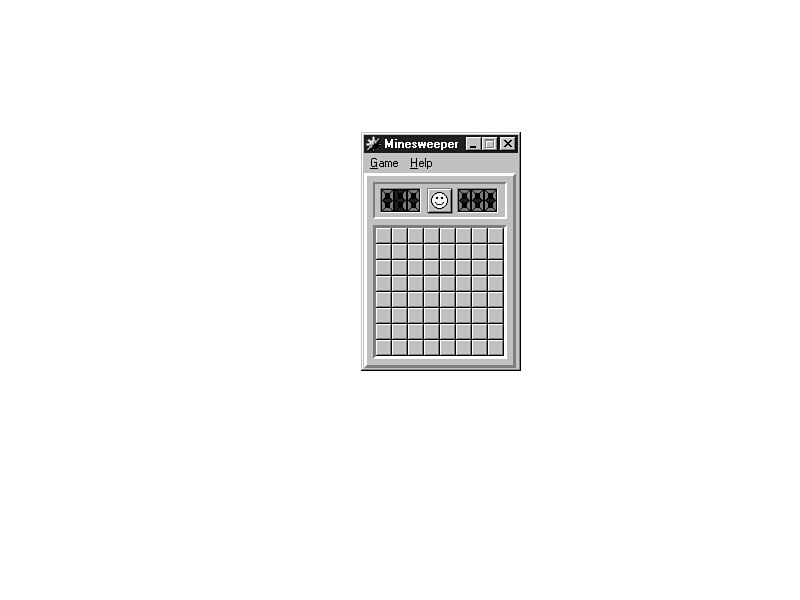
Follow these steps to start the Minesweeper game:
Figure T2.1.
Get ready to master the Minesweeper game.
TIME SAVER: Choose Beginner if you don't want to get blown up!
Figure T2.2.
You can adjust the size of the mine field.
CAUTION: The mine field's smallest possible size is 8 blocks by 8 blocks, and the largest is 24 by 30 blocks. The number of mines you can set ranges from 10 to 667.
You can now start the game. The purpose of Minesweeper is to locate all mines randomly placed in the mine field without triggering one of the mines. To achieve a top score, you must locate the mines as quickly as possible. Use a combination of lots of luck and some logic to find the mines.
Under each blank square on the mine field is either a mine, a number, or a blank space. To see the contents of the square you click on that square with the mouse.
Start a new game by selecting the Game | New (F2) option. (You also can click over the happy face to start a new game.) The game proceeds as you click on squares. The first square that you click is only a guess as to whether there is a mine under that square or not. Once you click on the first square successfully (without landing on a mine), you can begin to use logic to determine which remaining squares you can successfully click on. The item under a square determines which of the following things happen:
Every game is different, so you cannot follow along with this book's example play
exactly. Nevertheless, consider what happens if, after clicking the upper-left corner
square, the mine field in Figure T2.3 results.
Figure T2.3.
One click tells you a lot about the mine field.
The click over the upper-left square produced lots of helpful information. There
were no mines under the first square. Also, none of the upper-left corner's surrounding
squares had mines on them. Therefore, Minesweeper automatically blanked those surrounding
squares, as well as additional surrounding squares that had either numbers or
blanks.
JUST A MINUTE: If the first square had a mine under it, the game would now be over, and Minesweeper would have turned over all the game board's mine squares to show you the layout of the mine field. If the first square were touched by another square that had a mine, a number indicating the total number of adjoining mine squares would have appeared.
Notice the number 1 located in the top row of Figure T2.3's mine-field layout. One and only one mine is touching that square. Is the mine directly to the right or diagonally down and to the right of the square with the 1? There is not quite enough information to know exactly at this point because the square beneath the 1 has a 2, which indicates two mines touch that square, and you don't know where those two mines are.
Actually, the only square that you positively know contains a mine is the square that intersects the third column and the fifth row (referred to as "the point 3,5"). The 1 at point 2,4 indicates that a mine touches this square, and there is only one adjoining covered square, the one at 3,5 that touches the 1 at 2,4.
When you know where a mine is, click the right mouse button over that mine's
location to mark the location. As you locate and mark mines, the mine count in the
upper-left corner decreases. The right click produces the flag shown in Figure T2.4.
The flag will serve as a reminder so that you don't click over that square again.
If you are unsure about a square's mine, right-click the square twice to produce
a question mark placeholder that you can change to a flag or space later by right-clicking
the mouse.
Figure T2.4.
A right-click produces a flag when you think you know where a mine is.
Continue clearing squares until you either hit a mine and lose the game or uncover
all squares leaving only the mines flagged or covered. Suppose that you click the
square at point 1,3 and there is a mine at that location. Figure T2.5 shows the resulting
destruction. Minesweeper uncovers all mine squares and shows you the squares you
should have avoided.
Figure T2.5.
Oops! A mine just blasted.
To start a new game, click the happy face or press F2. Good luck!
![]()
![]()
![]()