![]()
![]()
![]()
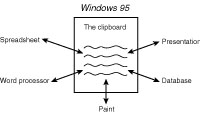
This hour describes a fundamental Windows 95 tool that you've already used a few times in this book. The Clipboard is the go-between Windows 95 storage location for all kinds of data that you want to transfer between programs. The Windows 95 Clipboard holds text, pictures, sound files, and multimedia presentations.
You will get a little break in this hour. This hour goes fast (because the chapter is fairly short), but the basics you learn here help you with virtually anything you will ever do with Windows 95 in the future. The Clipboard's fundamental use is simple, as you've already seen; the Clipboard holds data until you remove the data or copy new data over the old. Unlike many implementations of a clipboard (many word processors support some form of a clipboard), you can look at and manage the Windows 95 Clipboard through the Clipboard Viewer application.
JUST A MINUTE: Often, small utility programs, such as the Clipboard Viewer that you learn about in this chapter, are called applets because these programs are small and don't do much on their own, but support other applications.
The highlights of this hour include:
The Windows 95 Clipboard works with all kinds of Windows 95 programs. Inside virtually
any Windows 95 program, you can copy data to the Clipboard, as shown in Figure 12.1.
The Clipboard is a section of Windows 95 memory where you can place items that you
cut or copy. The contents of the Clipboard stay with the Clipboard even after you
paste those contents into another program. For example, in the previous chapter you
copied a Paint picture of a face to the Windows 95 Clipboard. Then you started the
WordPad text editor and pasted the Clipboard's contents into a text document.
Figure 12.1.
The Windows 95 Clipboard routes data to and from virtually any Windows
95 program.
Windows Minute
Clipboard or Desktop?
The Clipboard is not as permanent as the scraps and shortcuts that you place on the
Windows 95 desktop. Suppose that you copy a word processing paragraph of text to
the Clipboard and also to the desktop as a scrap. If you exit the word processor
and start a spreadsheet program, you can copy from either the Clipboard or from the
desktop. If you then copy a group of spreadsheet cells to both the Clipboard and
to the desktop as a scrap, the original Clipboard contents will be overwritten by
the spreadsheet data, but the desktop will now have two scraps. If you shut
down Windows 95 and started Windows 95 once again, the Clipboard would be empty,
but the desktop would still contain the two scraps.
The desktop always retains scraps until you delete them. The Clipboard is always
erased when you exit Windows 95. The Clipboard is also overwritten when you copy
something new
to it.
Before Windows became the standard operating environment, users worked with the
MS-DOS environment. One MS-DOS feature often missed by Windows users is the operation
of the Print Screen key. When MS-DOS users pressed PrtSc (spelled out with the full
command on some keyboards), an image of the screen went directly to the printer.
When Windows 95 users press PrtSc, nothing happens with their printers; instead of
going to the printer, an image of the screen goes to the Windows 95 Clipboard. Once
on the Clipboard, you can print the screen image only by pasting the Clipboard's
contents into Paint or some other program that can handle graphic images.
TIME SAVER:: Although Windows 95 requires more work than MS-DOS to print a screen image, the Clipboard offers a much better productivity tool than the direct screen-printing mode that is the only MS-DOS offering. Once it's on the Clipboard, you can paste the screen image into Paint and modify, color, expand, or shrink the image before printing it.
JUST A MINUTE: Screen images are useful for users writing tutorials and presentations. Also, you can print screen images if an unusual message appears on your screen and you want to ask someone else later about the meaning of the message.
Task 12.1: Using the Clipboard Functions
Step 1: Description
You've already used the Clipboard, but this task reviews specific Clipboard usage
so that you can better understand the need for the Clipboard Viewer that's introduced
in the next section.
Step 2: Action
The clipboard is one of the handiest tools in Windows 95!
TIME SAVER:: Although the Windows 95 documentation does not discuss these keystrokes, Ctrl+Ins is a shortcut key combination for Copy and Shift+Ins is a shortcut key combination for Paste. Shift+Del is a shortcut for Cut. Ctrl+Ins, Shift+Ins, and Shift+Del were officially supported in early Windows programs written by and for Microsoft. Many users got used to these keystroke shortcuts so Microsoft products still support the keystrokes today.
CAUTION: For some strange reason you cannot paste scraps from the Clipboard onto the desktop unless the program where you got those scraps is still open. The desktop seems to be linked to WordPad and other application programs instead of being linked to the Clipboard. Therefore, your Clipboard contents still remain once you exit a program such as WordPad, but you cannot paste the Clipboard onto the desktop once you exit WordPad.
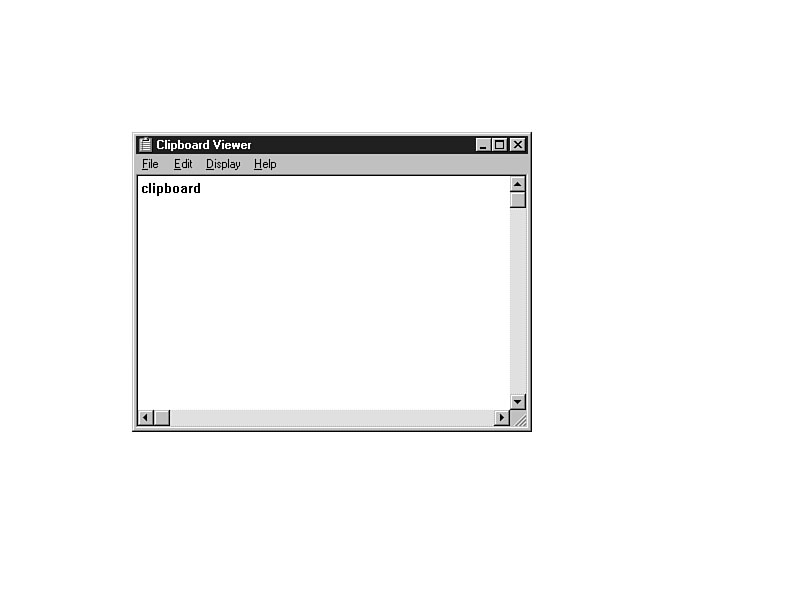
Figure 12.2.
The Clipboard might contain a single word or many pages of text.
Step 3: Review
This task demonstrated the differences in storage time for the Clipboard and the
desktop. Before sending anything else to the Clipboard, you needed to see exactly
how volatile the Clipboard is. Don't store long-term data on the Clipboard; instead,
store short-term data that you want to paste to a location quickly.
Task 12.2: The Clipboard and the PrtSc Key
Step 1: Description
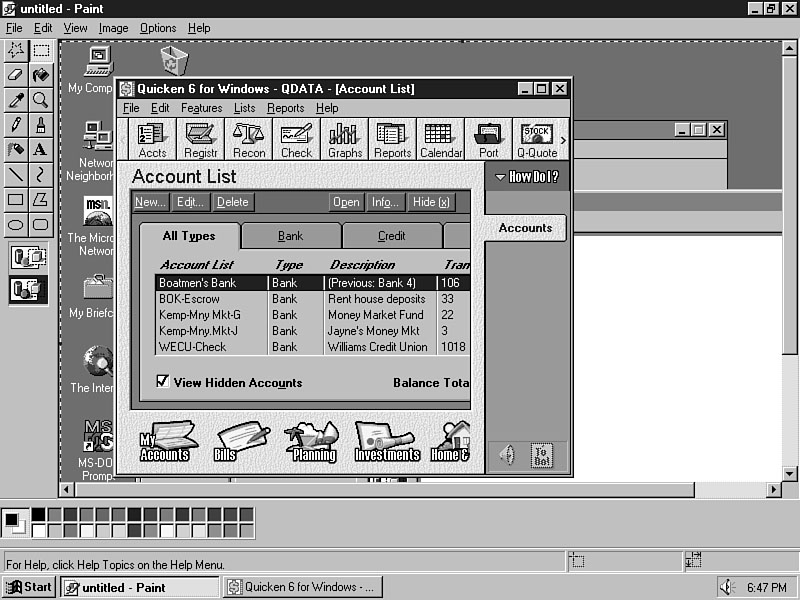
Here are two ways you can send screen images to the Clipboard:
This task demonstrates the actions of both the PrtSc and the Alt+PrtSc keystrokes.
Step 2: Action
JUST A MINUTE: Scroll Paint's editing window to see the entire screen image.
Figure 12.3.
Paint now contains a screen image.
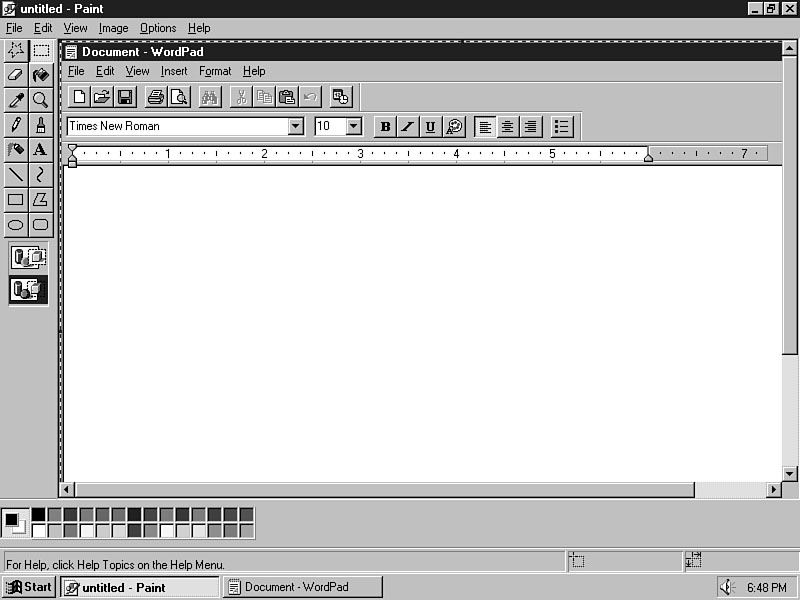
Figure 12.4.
If you press Alt+PrtSc, only the active window's image goes to the Clipboard.
Step 3: Review
The PrtSc key sends the entire contents of the screen to the Clipboard. The Alt+PrtSc
key combination sends only the currently active window (the window with the focus)
to the Clipboard.
Windows 95 provides a program called the Clipboard Viewer that lets you look at whatever is on the Clipboard. Whereas you have to start Paint to see a graphic image on the Clipboard, or a text editor to see text on the Clipboard, or a sound program to hear sound on the Clipboard, the Clipboard Viewer lets you view the contents of the Clipboard no matter what format the contents take on.
The Clipboard holds whatever you cut or copy to it. Often you'll send one form of data to the Clipboard, such as a Word for Windows 6 paragraph, and then paste that data into a program that requires a different format, such as the Notepad. Windows 95 must be able to distinguish data formats and be able to convert Clipboard contents from one format to another, when applicable, so that your target location (where you'll be pasting those contents) can receive data that was originally generated in a different format. The Clipboard Viewer provides a way to view all available conversion formats of Clipboard data.
JUST A MINUTE: Generally, you will not care about the format of data on the Clipboard. Let Windows 95 worry about converting data to a required format. The Clipboard Viewer contains a Display menu option that lets you look at the conversion formats possible for the data currently on the Clipboard.
One minor drawback to the Clipboard Viewer is that the Clipboard Viewer interface supports only the Windows 3.1 controls such as the Windows 3.1 Open dialog box. Therefore, the Clipboard Viewer does not support long filenames. If you select File | Open within the Clipboard Viewer, Windows 95 squeezes long filenames down to eight characters with a tilde (~) replacing the extra characters in the long filenames.
3.1 Step Up Although the Windows 95 Clipboard viewer uses the Windows 3.1 interface, it does, however, access the MS-DOS environment more smoothly than the Windows 3.1 Clipboard. In Windows 3.1, you could copy data back and forth between MS-DOS and Windows 3.1, but doing so was a chore. Windows 95 makes the task of copying between MS-DOS and Windows 95 much more easily managed, as you'll see in Hour 14, "Activate DOS-Based Applications."
CAUTION: Depending on the actual release date of your version of Windows 95, your Windows 95 Clipboard may support the new Windows 95 interface, such as the Windows 95 Open dialog boxes explained in Hour 4, "Take Windows 95 to Task."
Task 12.3: Using the Clipboard Viewer
Step 1: Description
This task explains how to start the Clipboard Viewer and describes some of the Clipboard
Viewer capabilities. The Clipboard Viewer's primary purpose is to let you look at
the Clipboard whenever you want to know what is there.
JUST A MINUTE: Perhaps the only thing you cannot do with the Clipboard Viewer is print the contents of the Clipboard. If you want to print the contents of the Clipboard, you'll still have to start another program that supports the current Clipboard's contents format and use that program's File | Print command. The Clipboard Viewer's File menu contains no Print command.
Step 2: Action
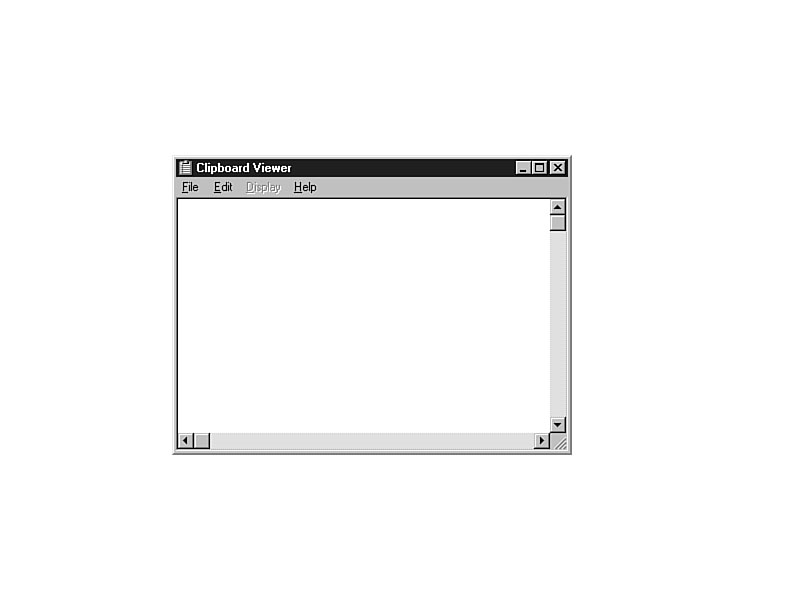
Figure 12.5.
The Clipboard Viewer displays and saves the contents of the Clipboard.
JUST A MINUTE: If the Clipboard Viewer window is not empty, the Clipboard Viewer will still contain the last contents you sent there (from the previous task, if you're following along). The next item you send to the Clipboard will appear on the Clipboard Viewer's screen.
CAUTION: The Clipboard Viewer rarely, if ever, makes a wrong guess as to the proper format of Clipboard data. Unless you know specifically that the Clipboard is pasting data using an invalid format for the target program, don't change the Display command from the Auto selection.
JUST A MINUTE: Even though you exit the Clipboard Viewer, the contents of the Clipboard do not go away. Keep in mind that the Clipboard Viewer and the Clipboard are two different entities. The Clipboard holds whatever Windows 95 data you copy or cut and the Clipboard Viewer lets you view those contents.
Step 3: Review
The Clipboard Viewer is a Windows 95 applet program that lets you view, change the
format, or delete the contents of the Windows 95 Clipboard. The Clipboard Viewer
does not let you print the Clipboard's contents, but you can view the contents without
knowing in advance what data format the Clipboard contains.
Windows Minute
Linking with Paste Special
Windows 95 supports the use of a Clipboard link, which means that when you
paste Clipboard contents into a document, Windows 95 sets up a link from one application
to another. You saw a similar concept when you worked with an OLE object in the previous
chapter.
If the Windows 95 application supports linked objects (not all applications support linked objects), there will be a Paste Special command on the Edit menu when you paste Clipboard data to the application. Once pasted, you can click on that pasted object to edit the object inside the application.
One of the best advantages to using Paste Special is that some advanced applications support advanced linking so that when data in the first application changes, the pasted data also changes.
This chapter reviewed the Clipboard so that you could familiarize yourself with the workings of the Clipboard Viewer. The Clipboard Viewer lets you view the contents of the Clipboard no matter what kind of data the Clipboard contains. Not only can you view the contents of the Clipboard, but you can also save the Clipboard to a file and load that file back into the Clipboard Viewer at a later time.
One of the most interesting uses of the Clipboard is for printing the contents of screens. The PrtSc key sends the screen's graphic image to the Clipboard. The Alt+PrtSc keypress sends a graphic image of the selected window to the Clipboard. Using the Clipboard Viewer, you can view the contents of the screen. If you paste the contents of the Clipboard screen into a graphic program such as Paint, you can also print the contents of the screen image.
Without the Clipboard Viewer, you would have to know the format of Clipboard data if you wanted to look at the Clipboard's contents. Depending on the source of the Clipboard data, you may not know exactly what kind of data resides on the Clipboard. The Clipboard Viewer's Display menu contains a list of all supported formats that you can convert the Clipboard data to.
applet A Windows 95 utility program such as the Clipboard Viewer.
Clipboard Viewer A Windows 95 applet that lets you look at the contents
of the Clipboard no matter what kind of data resides on the Clipboard.
link Pasted Clipboard contents with which Windows 95 keeps an active connection.
If you change linked data in its original application, after you have pasted it elsewhere
from the Clipboard, the data then also changes inside the other application(s) containing
the pasted contents.
![]()
![]()
![]()