![]()
![]()
![]()
In the last hour you learned how to use Windows 95's writing tools. In this hour, you learn how to use Windows 95's primary drawing tool. The Windows 95 Paint program is a drawing program. Although Paint won't make you an artist overnight, you can create some fairly sophisticated art using Paint.
Even though Paint has been available since the first version of Windows 95, Microsoft wrote the Windows 95 Paint program from scratch as a 32-bit application that takes advantage of all of the interface features, such as the new Open dialog boxes, available in Windows 95 programs. The pictures that you create with Paint are considered documents so all the document-management tools you've learned so far work with Paint document files as well.
The Paint program provides several kinds of drawing tools with which you can draw lines and geometric shapes. Paint supports color filling and outlining also. One of the most advanced features of Paint, OLE support, lets you embed a Paint picture in the middle of other OLE-compatible documents such as a WordPad document.
Perhaps the best reason to learn Paint: Paint is fun!
The highlights of this hour include:
Paint provides many drawing tools. Before you can use Paint effectively, you must
learn how to interact with Paint, and you also must know what each of Paint's tools
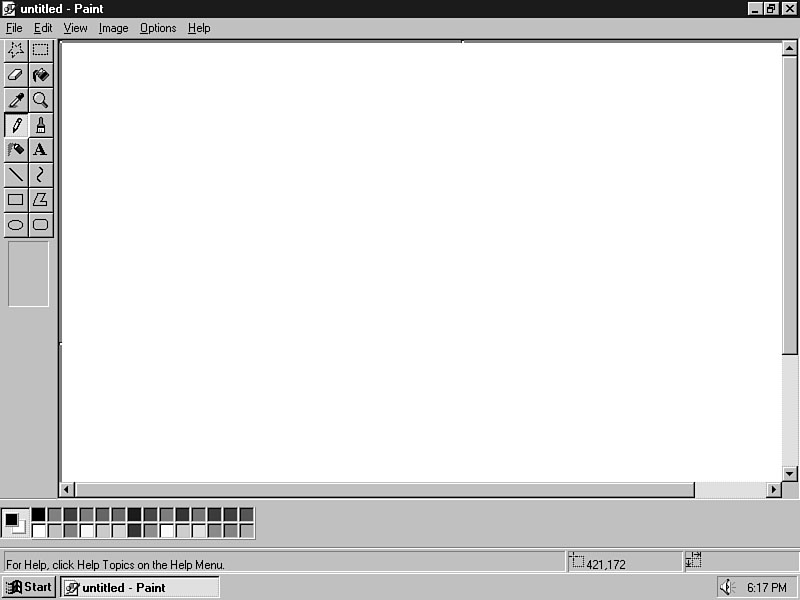
does. The Paint screen contains five major areas. Figure 11.1 lists each of those
five major areas. Table 11.1 describes each area.
Figure 11.1.
The five major areas of the Paint screen.
JUST A MINUTE: Paint does not contain a toolbar with buttons as do WordPad and other Windows 95 programs. Paint contains a tool box that is the most important area of Paint. It is from the tool box that you select and use drawing tools.
Table 11.1. Descriptions of the five areas of Paint's screen.
| Area | Description |
| Drawing area | The drawing appears in the drawing area. When you want to create or modify a drawing, you'll work within this area. |
| Color box | A list of possible colors you can choose for colorizing your artwork. |
| Menu bar | The commands that control Paint's operation. |
| Status bar | Displays important messages and measurements as you use Paint. |
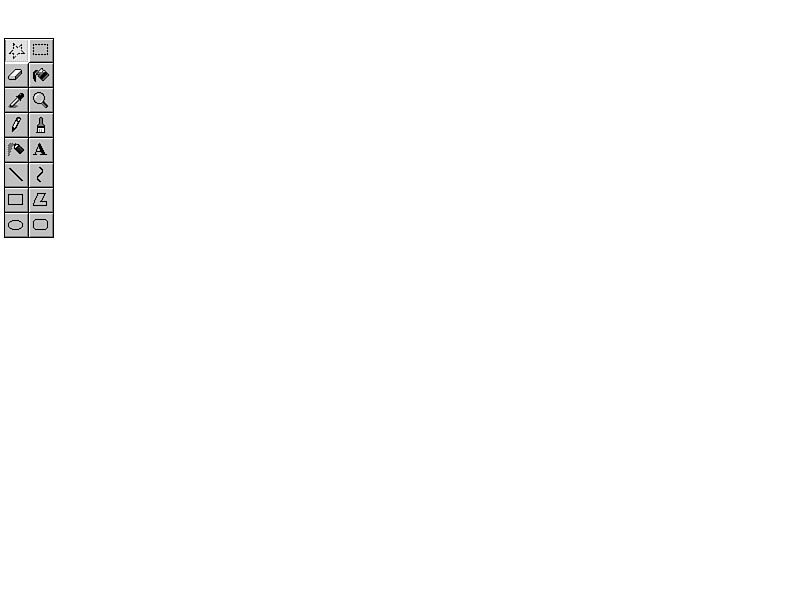
| Tool box | The vital drawing, painting, and coloring tools with which you create and modify artwork. |
JUST A MINUTE: When you exit Paint, it saves the screen size and selected viewing options so that when you start Paint the next time, your screen will look like it did when you exited Paint the previous time.
Figure 11.2. The tools on the tool box.
Step 3: Review
The first thing you should do when starting Paint is maximize the program window.
You will often need to have all the areas of the screen showing, especially the tool
box. Therefore, once you start Paint for the first time, be sure to display the View
menu and make sure that the first three View menu options are checked.
Task 11.2: Drawing with the Pencil Tool
Step 1: Description
To begin drawing with Paint, select the pencil tool and use the mouse to draw lines
on the drawing area. The pencil tool draws lines as you drag the mouse. You can use
the color bar to select a line color for the lines and draw more lines of multiple
colors.
Step 2: Action
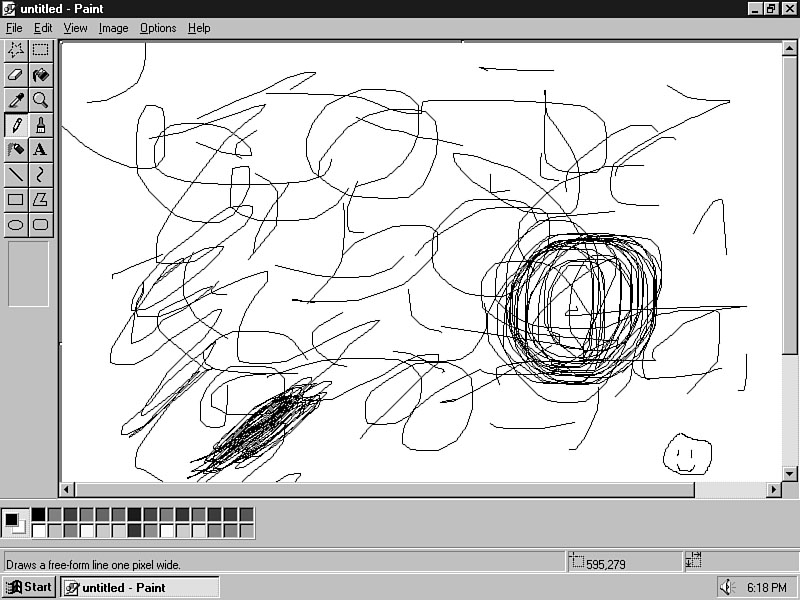
Figure 11.3.
The pencil tool lets you draw with a freehand style.
TIME SAVER:: Think of clicking the mouse button as being the same as putting the pencil on paper. When you hold down the mouse you can draw on the paper. When you let up with the button (raise the pencil), no drawing takes place.
JUST A MINUTE: I said this would be fun, didn't I?
Step 3: Review
The pencil tool is the primary drawing tool for freehand lines and curves. The pencil
draws lines in the selected color. The pencil tool draws as you drag the mouse across
the drawing area.
TIME SAVER:: Every time you change a tool or color or draw a separate line, Paint saves the next group of changes to the drawing area. As with most Windows 95 accessory programs, Paint supports an Edit | Undo feature (Ctrl+Z or Alt+Backspace). You can undo up to three previous edit groups. Therefore, if you've just drawn three separate lines, you can remove each of those lines by selecting the Undo command three times.
Task 11.3: Using the Geometric Tools
Step 1: Description
Drawing with the pencil tool requires patience and skill when you want to draw perfect
lines, curves, and shapes. Although the pencil is easy to use, the mouse is not the
best freehand drawing device for drawing certain shapes. Paint supplies several tools
on the tool box that you can use to draw squares, rectangles, curves, and circles
of virtually any shape and size.
Step 2: Action
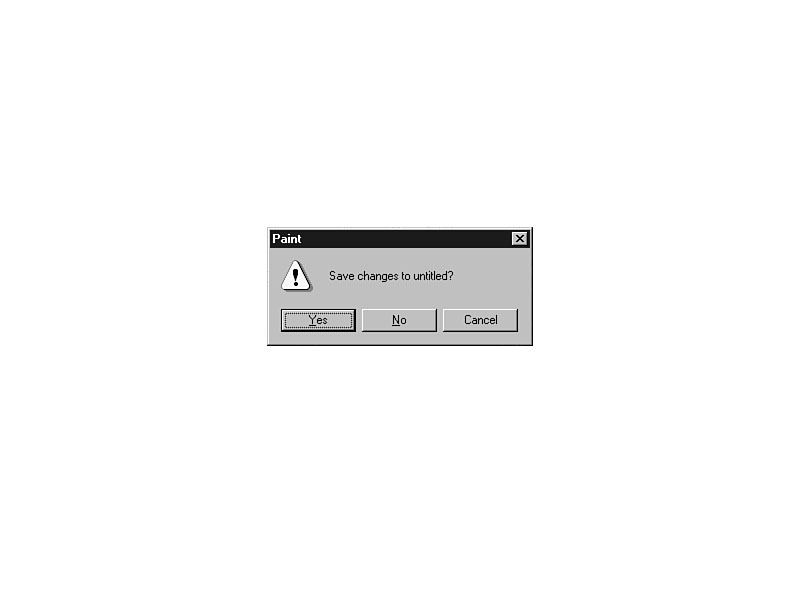
Figure 11.4.
Don't save your first masterpiece.
JUST A MINUTE: If you had loaded and made changes to an existing document image, the dialog box shown in Figure 11.4 would have asked if you wanted to save the changes to that particular file. You haven't saved the image that you created in the previous task, so the dialog box refers to the drawing as untitled in the dialog box because the drawing has no document filename.
Windows Minute
Where's the Point?
Paint measures all drawing positions by coordinates or points. Suppose
you draw a single dot in the center of the screen. The smallest dot you can draw
is called a pixel (coming from the words picture element). A coordinate
is defined by the number of pixels from the top edge of the screen to a point (your
dot) and the number of pixels from the left edge of the screen to a point.
Every dot, line, and shape in the drawing area begins at a specific point and measures a certain number of coordinate points. The way that Paint indicates a dot's position is by a coordinate pair, which is two numbers separated by a comma, such as 137,82. The first number in a coordinate pair represents the number of pixels from the left edge of the drawing area, and the second number represents the number of pixels from the top edge of the drawing area. Every pixel inside the drawing area has its own unique coordinate pair measurement, just as every house has a unique address.
The status bar always displays the starting coordinate position of every dot, line, or shape that you draw. If you draw with one of the geometric tools, the status bar also lists the length (for lines and other shapes) and height (for geometric shapes that have height) of that item, in pixels.
JUST A MINUTE: Don't worry if you cannot place the line at the exact coordinates listed in this hour. Get fairly close and your drawings will look like the figures.
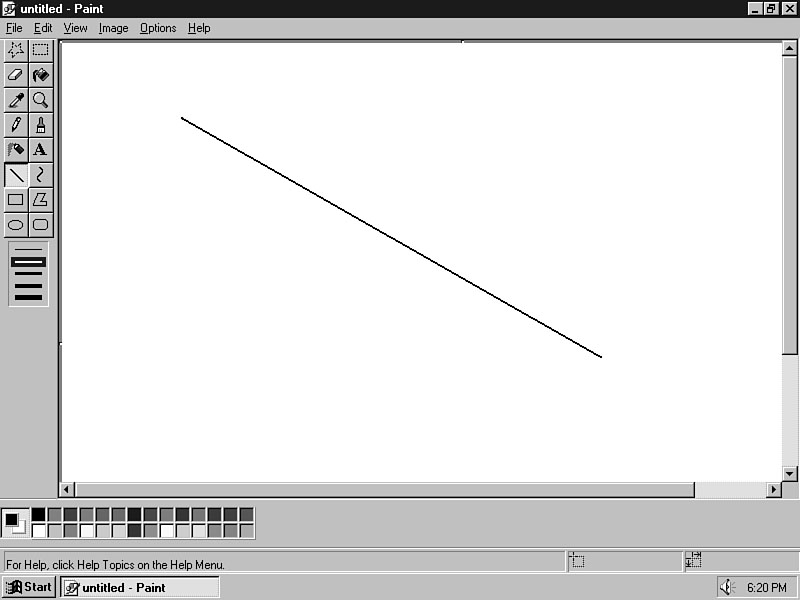
Figure 11.5.
You drew a line without pain!
TIME SAVER:: Now that you've selected the Line tool, look at the area below the tool box. You'll see five lines, with each line growing thicker than the one before. By clicking on a thick line, the next line you draw with the Line tool appears on the drawing area in the new thickness. You can change the thickness, using this line size list, for any of the geometric shapes.
CAUTION: Always change the Line tool's thickness before selecting one of the geometric drawing tools. The Line tool's line size determines the line thickness for all the geometric tools.
TIME SAVER:: Drawing a perfect square is not always easy because you have to pay close attention to the coordinates. Paint offers a better way to draw perfect squares. Hold down the Shift key while dragging the mouse, and the rectangle always appears as a square.
TIME SAVER:: If you want to draw a rectangle in a different color, click the left mouse button over the new color. If you want to fill the inside of the rectangle with a different color, click a new color with the right mouse button. The two-color pattern shown at the left of the color bar indicates the outline and interior colors of rectangles and other shapes. You can also use the two colors to draw lines. When you anchor and draw a line using the left mouse button, Paint draws the line in the outline color. If, instead, you draw the line using the right mouse button to anchor the line, Paint draws using the interior color.
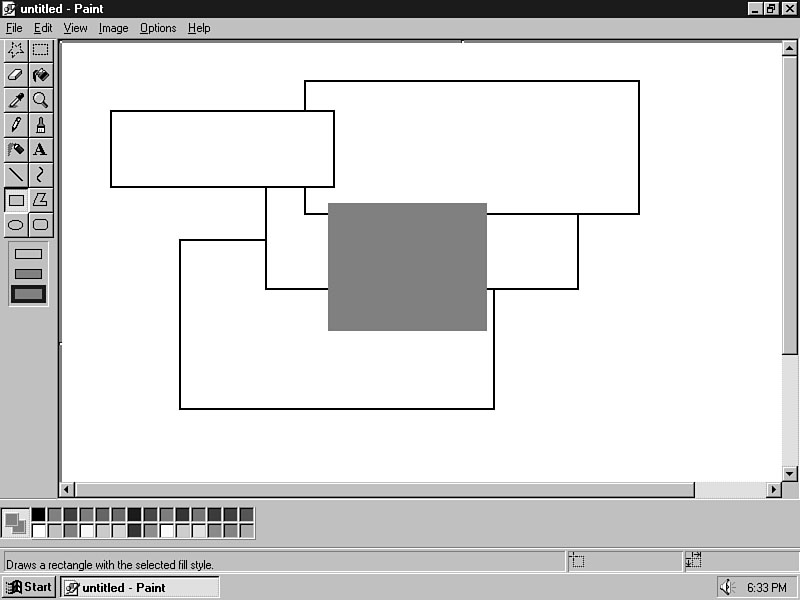
Figure 11.6.
The rectangle selection determines how the rectangle overwrites other art.
Figure 11.7.
Including an OLE object inside WordPad.
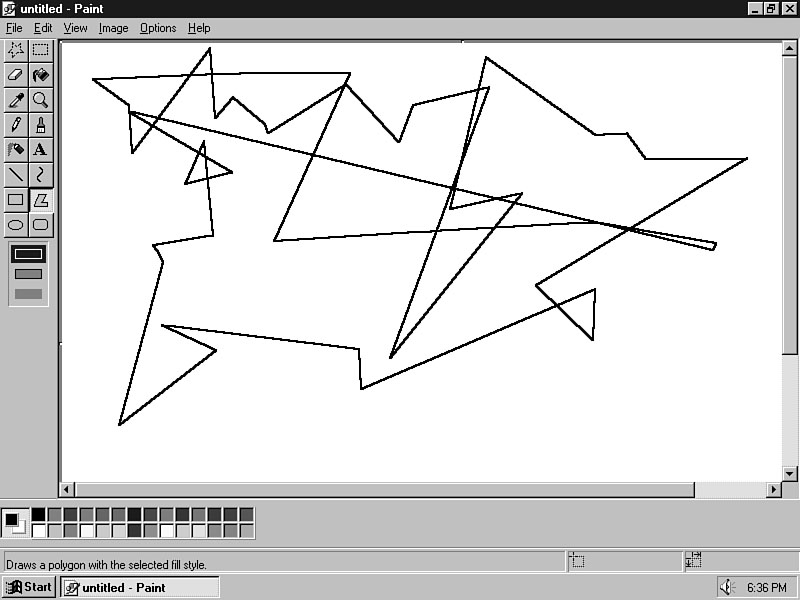
Figure 11.8.
A polygon is an enclosed shape with any number of sides.
TIME SAVER:: If you hold Shift while drawing the curve's starting line, Paint draws a perfectly horizontal or vertical line.
Step 3: Review
The geometric tools generally require that you select a line width, a drawing style
(such as rectangles that hide or don't hide their backgrounds), an exterior and interior
color, and then draw the shape. You draw most of the shapes by anchoring their initial
position, and then dragging the mouse to extend the shape across the screen. If you
make a mistake, you can use the Eraser/Color Eraser tool to correct the problem.
Task 11.4: Colorizing Black and White Art
Step 1: Description
As you learned in Task 11.3, you can add color to drawings while you draw the geometric
shapes. Paint also supports several coloring tools that let you add or change colors.
Step 2: Action
CAUTION: If you click the Fill with Color tool anywhere on the screen that is not completely enclosed, the paint color will completely fill the drawing area.
JUST A MINUTE: The Pick Color tool always reverts back to the most recently used tool.
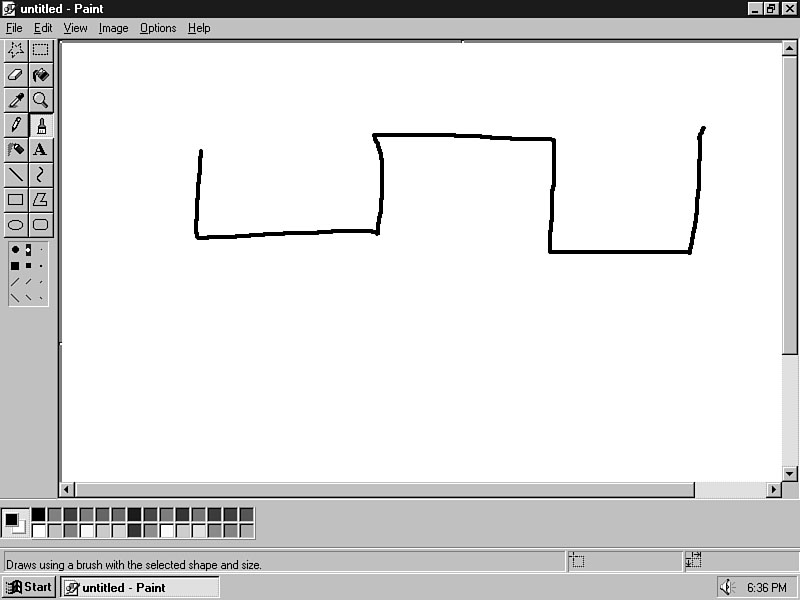
Figure 11.9.
There are 12 brush shapes you can use.
Step 3: Review
You can add color while drawing and after completing a drawing. The Fill with Color
tool is nice for putting colors within shapes, but you must make sure those shapes
are fully enclosed or the paint will overwrite the shape and fill the rest of the
drawing area. The Airbrush is fun to use because it acts like a real spray can of
paint. By spraying the Airbrush over the drawing area quickly, you can apply a light
streak of spray paint. The more slowly you move the Airbrush, the more paint goes
on the drawing area making a darker spray.
JUST A MINUTE: Although Paint can only create bitmap files with the .BMP filename extension, the Paint program can read both bitmap and PC Paintbrush files. PC Paintbrush filenames end with the PCX filename extension. If you read a PCX file and save the file, Paint saves the file in the bitmap file format.
TIME SAVER:: Want to create your own desktop wallpaper? Use Paint! All desktop wallpaper images must appear in the bitmap format with the .BMP extension and those are exactly the kinds of files that Paint creates. Therefore, you can create a bitmap image with your company's logo and use the image for your desktop's wallpaper. See Hour 3, "Understanding the My Computer Window," if you need to review the procedure for changing your desktop wallpaper.
TIME SAVER:: In addition to the desktop wallpaper, you can also create your own startup logo. The startup logo is the logo you see while Windows 95 starts. Create a Paint image and save the image under the name LOGOS.SYS in the Windows directory. Windows 95 will subsequently use this file when you start Windows 95 in the future. You can also display a shutdown graphic image that appears when you shut down Windows 95. Name the shutdown Paint image LOGOW.SYS and you'll see your image when you shut down Windows 95 before you turn off your computer.
Task 11.5: Adding Text to Drawings
Step 1: Description
Drawings often have titles. Graphs often have explanations. Maps often have legends.
Pictures that you draw often need text in addition to the graphics that you draw.
The Text tool lets you add text using any font and font size available within Windows
95. You can control how the text covers or exposes any art beneath the text. The
Text tool works somewhat differently from the drawing tools because you first have
to create a text box where you type the text.
Step 2: Action
JUST A MINUTE: If the text frame is not the correct size, you can adjust it later.
Figure 11.10.
Paint needs to know the font's name, size, and appearance.
TIME SAVER:: As long as the text appears inside the text box, you can change the color of the text by clicking over a color in the color box.
Step 3: Review
The text tool requires that you create a text frame first. The text frame lets you
select colors and font information for all text appearing inside the text frame.
Any other text outside the text frame stays the same.
Task 11.6: Looking at Different Editing Views
Step 1: Description
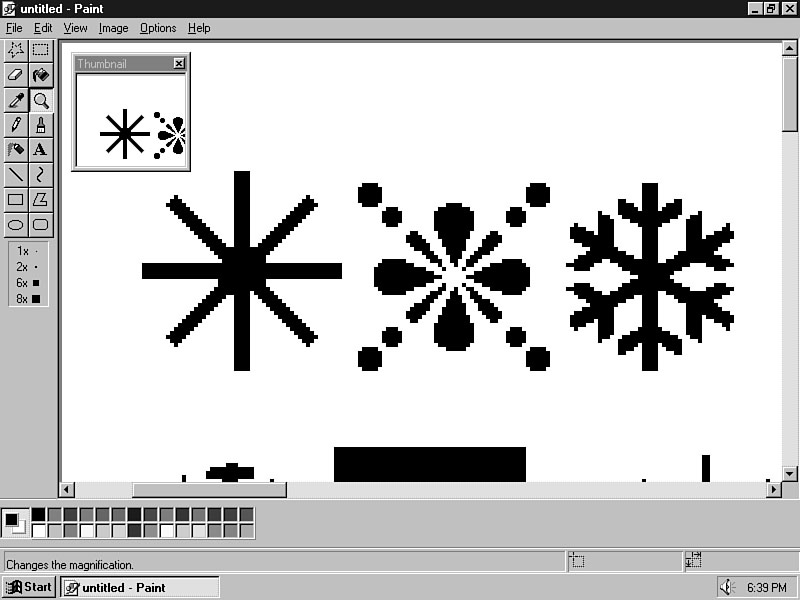
There are several ways to add the finishing touches to your drawings. The Magnifier
tool zooms images so that the pixels are larger and easier to change on an individual
scale. If you want to see the drawing maximized to full screen, you can also request
that Paint display the drawing without the menu bar and other Paint tool areas so
you'll know what the actual figure looks like in its complete expanded size.
Step 2: Action
Figure 11.11.
If you need more precision, magnify parts of the drawing.
TIME SAVER:: The Magnifier tool comes in four sizes, which you can choose by selecting a size beneath the tool box before magnifying part of the image.
Windows Minute
Alternate Magnifying Techniques
Select View | Zoom to work with a more powerful magnifying editor.
Select the Large Size command to magnify the drawing (use the scroll bars
to find the part of the drawing you want to edit). Once you've scrolled to the magnified
location that you want to edit, select the View | Zoom | Show Thumbnail
command. Paint displays a miniaturized version of the magnified area's full-screen
view so that as you make precision adjustments inside the magnified area, you instantly
see the results of those pinpoint changes inside the thumbnail inset.
Try editing a portion of your current image using the View | Zoom Large Size command to see the results. Although the screen requires several menu selections to get the thumbnail, you get better feedback than if you only use the Magnifier tool.
TIME SAVER:: If you want to make several copies of part of a drawing, select that drawing part, issue the Edit | Copy command to copy that selected area to the Clipboard, and then issue the Edit | Paste command to paste a copy of the selected drawing to Paint. You then can move the pasted copy to the location where you want the copy.
Step 3: Review
The viewing tools provided by Paint, including the View command on the menu
bar, all provide you with different ways to look at your drawing. The Magnifier tool
and the Zoom command let you edit the pinpoint pixels of your drawing if you
need that much accuracy. Only when you see your drawing in its fully maximized state,
do you know exactly how the drawing looks in its entirety.
There are many advanced editing features available inside Paint that you'll want to study once you've mastered the basic drawing tools described in the previous tasks. You already know enough to draw virtually anything you'll ever want to draw; the Image menu, however, contains additional commands that go far beyond the fundamental drawing capabilities offered by the tool box.
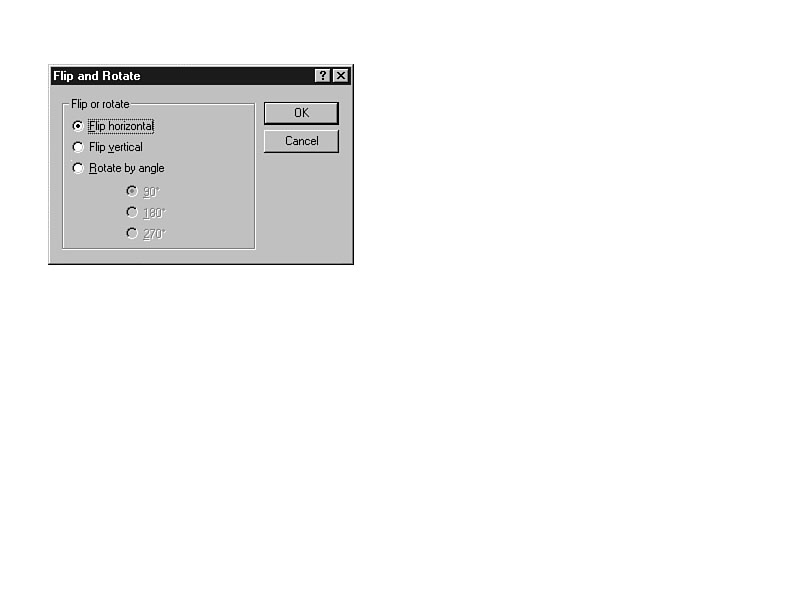
The Image | Flip/Rotate command lets you rotate the drawing area.
The Flip and Rotate dialog box, shown in Figure 11.12, lets you determine whether
or not you want to completely reverse the image horizontally, vertically, or by a
specific number of degrees.
Figure 11.12.
The Flip and Rotate dialog box controls the direction and amount of rotation.
The Image | Stretch/Skew command produces a dialog box that lets you
stretch the entire drawing area (or the selected area) by a certain number of degrees.
By skewing or stretching an image, you can add snowy and wavy special effects to
your artwork.
Artists understand better than computer book authors what color inversion is all about. All colors have complementary colors. (The red compliments the blue by telling blue how nice he looks, or something like that!) A complementary color is an offsetting color that is a color's opposite in the color spectrum; white's complement is black, for example. Artists and designers use color charts and color wheels to determine complementary colors when they need to produce offsetting colors in a painting or a room. Paint will complement all colors in the drawing area or within the selected area if you select Image | Invert Colors.
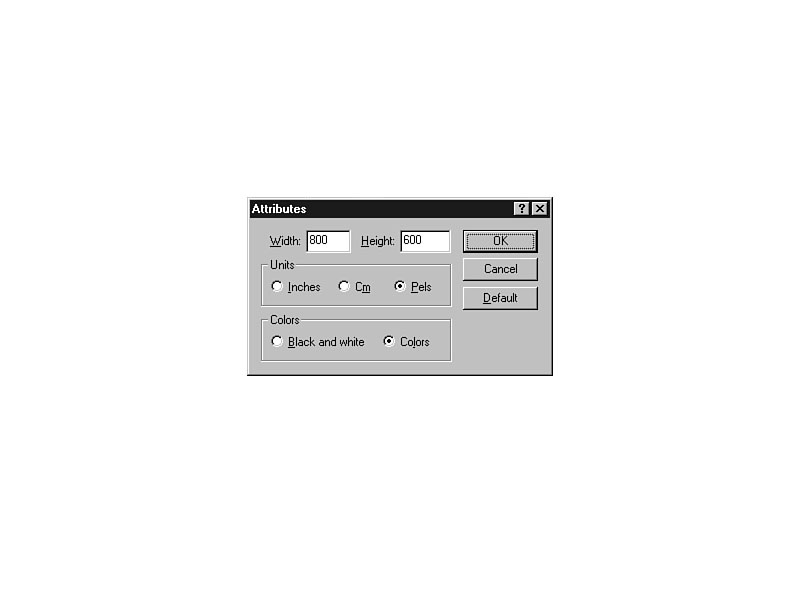
The Image | Attributes menu command lets you change the size of
a drawing area. Image | Attributes displays the Attributes dialog box
shown in Figure 11.13. The Attributes dialog box determines how large (you specify
either in inches, centimeters, or pixels depending on the option you select) you
want the drawing area to be. In effect, the Attributes dialog determines the size
of your drawing paper. If you want to draw in shades of black and white (as you would
do if you were going to print the image on a black and white printer) you would want
to create the drawing in black and white and shades of gray, so you'll know on the
screen what the drawing will look like when printed.
Figure 11.13.
The Attributes dialog box lets you adjust the drawing area and measurements.
The Image | Clear Image command works just like the File | New
command except that File | New resets interior and background color
selections while Image | Clear Image erases the current drawing area
without resetting the colors.
One of the most important aspects of the Paint program is its OLE capability.
By being OLE-compatible, you can insert images directly into other OLE-compatible
programs and edit those images directly from the other program using the Paint menus
and tools. Task 11.7 shows you how to work with Paint's OLE capabilities.
Task 11.7: Combining Paint with Other Applications
Step 1: Description
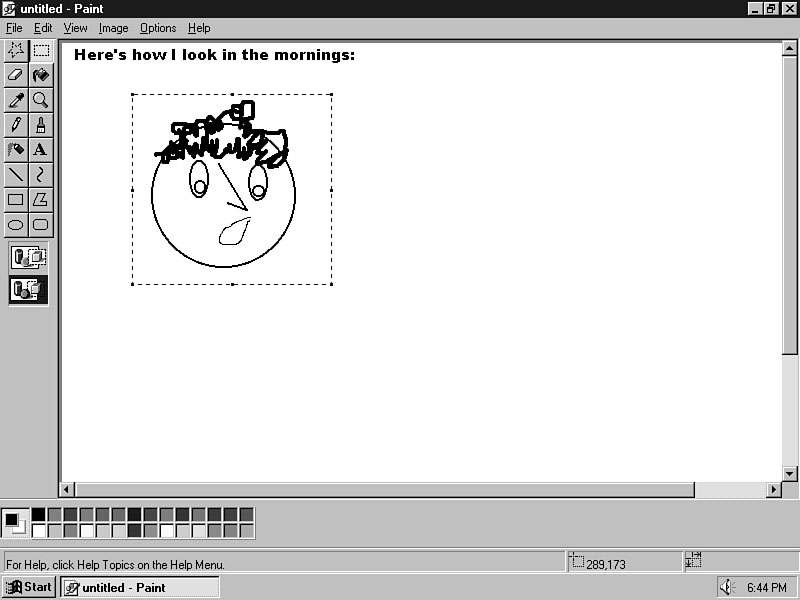
This task embeds the face image into a new WordPad document. WordPad, like most word
processors written for the Windows 95 environment, supports OLE, which offers in-place
editing of images even when you're not running the Paint program.
Step 2: Action
Here is what I look like in the mornings:
Figure 11.14.
You can embed Paint images into WordPad documents.
I hope I look better by the afternoon!
Step 3: Review
OLE capabilities mean that you have the ability to perform in-place editing of your
Paint images that you embed in textual documents. Both Paint and WordPad support
OLE (described in the previous hour), so they both work together to combine text
and art.
This hour taught you how to draw using the Paint program. Paint, a 32-bit application, supports all of the Windows 95 environment, including full OLE support. The drawing tools provided by Paint rival many of the drawing tools supplied in art programs that sell for several hundred dollars.
Paint includes geometric tools that help you draw perfect shapes. You can color the shape outlines, as well as their interiors with Paint's coloring tools. The menu bar provides commands that resize, reshape, invert, and stretch your drawn images. If you want precision editing, you can have it by zeroing in on the fine details of your drawing using the Magnifier tool.
As you become more familiar with Windows 95, especially after you learn how to manage the multimedia power in Part IV, you will learn how to embed all kinds of documents, such as sound and motion pictures, into your WordPad and Paint files. By utilizing the OLE capabilities you learned in this hour, you are mastering the fundamental programming principles that help make your Windows 95 applications work together almost seamlessly.
anchor position The starting coordinate pair of lines and other geometric shapes.
coordinate A pixel position on the screen defined by a coordinate pair.
coordinate pair A pair of numbers in which the first represents the number of pixels from the left edge of the drawing area of an image, and the second represents the number of pixels from the top edge of the drawing area. In Paint, the coordinates appear on the Status bar.
pixel Stands for picture element. A pixel is the smallest addressable dot on your screen.
point Another name for coordinate.
startup logo The image you see when Windows 95 loads.
text frame A rectangular area in which you type or modify the text.
tool box Paint's collection of drawing, coloring, and painting tools.
tools The individual drawing, painting, and coloring tools represented by
icons on the tool box.
![]()
![]()
![]()